
Freeze Thaw Rated
Heat Resistant
UV Resistant
Radiant Heating Compatible
Slip Resistant
Key: Applicable | Not Applicable | * = See material guidelines for specific requirements


Belgian Reproduction Privé
Freeze Thaw Rated
Heat Resistant
UV Resistant
Radiant Heating Compatible
Slip Resistant
Key: Applicable | Not Applicable | * = See material guidelines for specific requirements
| Description | Rating |
|---|---|
| Surface Type | Unglazed |
| Finish Type | Unfinished |
| Color Variation | Level 4 (heavy) |
| Texture Variation | Level 3 (medium) |
| Size Variation | Level 2 (medium) |
| Dimensions | 8" x 8" x 3" |
| Water Absorption | n/a |
| DCOF | n/a |
| Pieces per sqft | 2.25 pcs/sqft |
| Weight per sqft | 11.25 lbs/sqft |
| Pieces per Box | 4 pcs/box |
Flemish Red
Color Variation: Level 4 (heavy)
Texture Variation: Level 3 (medium)
Size Variation: Level 2 (medium)
| category | level 1 | level 2 | level 3 | level 4 | level 5 |
|---|---|---|---|---|---|
|
color variation |
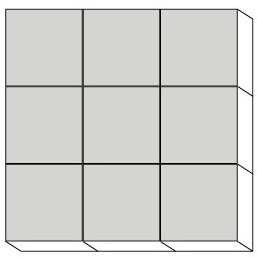 low
low
|
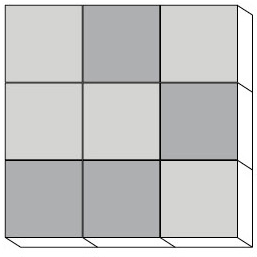 slight
|
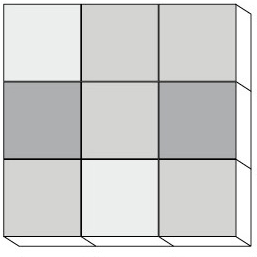 medium
|
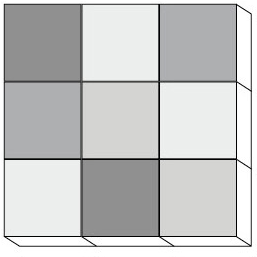 heavy
heavy
|
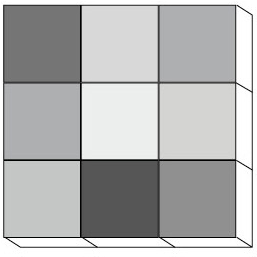 extreme
|
|
texture variation |
 smooth
|
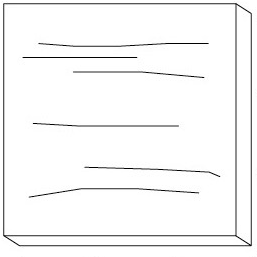 slight
|
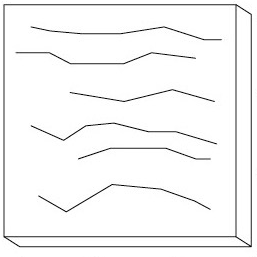 medium
|
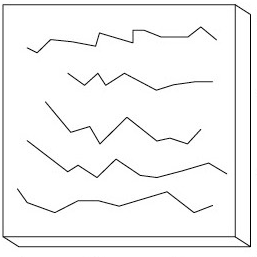 heavy
heavy
|
 n/a
n/a
|
|
size variation |
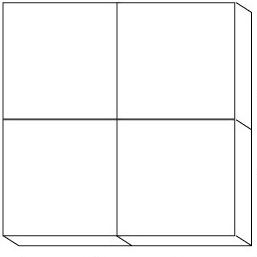 slight
|
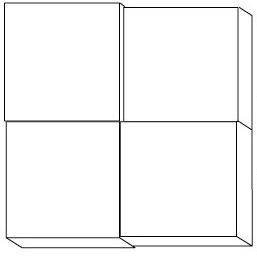 medium
|
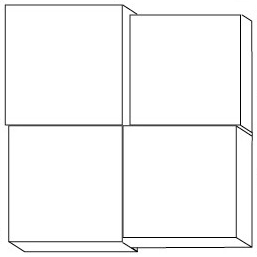 heavy
heavy
|
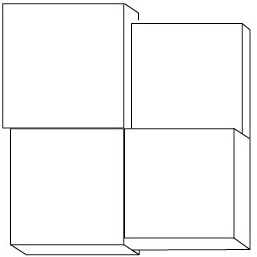 extreme
|
 n/a
n/a
|
Download our material guidelines to read more about the ratings in our tile variation & imperfections guide.
Flemish Red
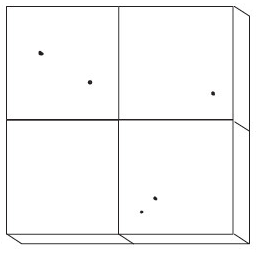
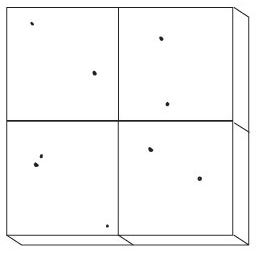
Pits / Chips: Level 2 (slight)
Cracks: Level 2 (slight)
Crazing: n/a
Iron Spots: n/a
| category | level 1 | level 2 | level 3 |
|---|---|---|---|
| pits / chips |
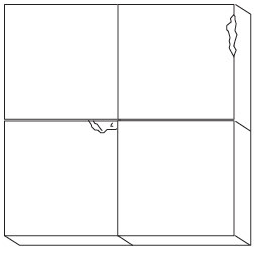 will occur
|
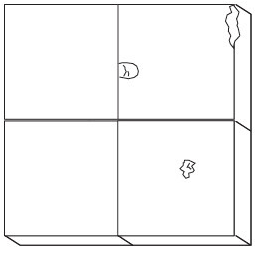 slight
|
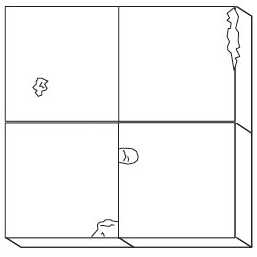 medium
|
|
cracks / crazing |
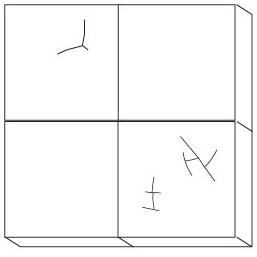 will occur
|
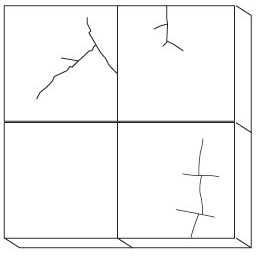 slight
|
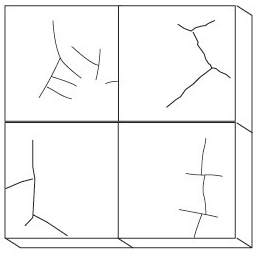 medium
|
| iron spots |
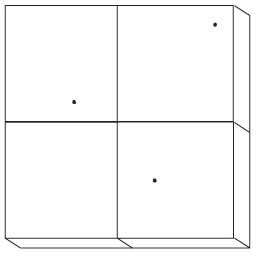 will occur
|
 slight
|
 medium
|
Download our material guidelines to read more about the ratings in our tile variation & imperfections guide.
CORRECT TILE QUANTITY/OVERAGE. Your wall measurements should correspond to the size of your breeze blocks. Breeze blocks were not meant to be cut. Cutting can affect the structural strength of your breeze blocks as well as disrupt the pattern of your design. Ensure you account for grout joints/space between blocks when taking measurements.
TIMING. Budget enough time for the installation with your design professional/installer for the type of tile you are thinking of installing and make sure to take into account shipping delays.
SAMPLING. Ensure that your design professional/installer provides samples using the product you are interested in. (Please note that most of our tiles are handcrafted using natural materials, and product samples or website photography may not match the full tile order.)
TECHNICAL SPECIFICATIONS. You and your design professional/installer must be familiar with all material specifications (on each product page). If you do not understand them, please email contact@outercle.com
MOST BREEZE BLOCK WALLS REQUIRE A FOUNDATION. Breeze block walls not inserted into existing walls will require a concrete footing or skirt. Foundation size can been affected by the height of your wall, the thickness of your breeze blocks, and the climate of your installation area. Consult with your project architect and mason to determine the size and depth of the foundation your project will require.
BREEZE BLOCKS REQUIRE SUPPORT. Breeze blocks are not meant to be load bearing. Reinforcing your breeze blocks is crucial to their success and longevity. Consult your project architect and mason to determine what kind of structural support your design may need (interior reinforcement, existing walls, framing).
GROUT. Breeze blocks should not be dry stacked. Breeze block walls should be built using either masonry cement or cementitious sanded grout. Consult with your structural engineer or mason on which adhesive works best for your project.
REQUIRE YOUR INSTALLER PERFORM A “DRY RUN”. Before installing, make sure to lay out and blend ALL BOXES of your tiles so that your variations in color, and tiles that bear chips and pits are artfully placed as you would like. The best placement of these nuances throughout your installation must be guided by you and/or your design professional to realize the best possible blend of your shipment of our limited-availability tiles. Your installation is only as good as your DRY RUN.
REQUIRE MOCK-UP BOARDS. We urge all our clients to require creation of mock-up boards before installation. This allows you and your designer/installer to test your tile layout in mock-up form and lets you view your design in the space and lighting in which it your tiles will be installed. Mock-ups also help ensure your grout color and grout joint size are to your liking.
SUBSTRATE. Before installation, make sure your project engineer and installer have prepared your substrate properly. Surfaces should be flat, clean, and free of any sealants, waxes or other contaminants prior to installation. Also, ensure that any drainage requirements have been taken into consideration before beginning installation.
PROCESS. Ensure that your design professional/installation team:
Prepares tile for installation (including pre-sealing if required)
Select the proper thinset and grout for your project, and prepare and apply the thinset mortar and grout according to the manufacturer’s instructions.
Properly cleans and seals the tiles and grout lines as a final step, if required.
Makes recommendations for ongoing care (keeping in mind material guidelines for the specific tile and material installed)
MATERIAL GUIDELINES. Review the material guidelines for the specific tile/material.
SEALING, MAINTENANCE, AND CARE. Follow the installer’s sealing, maintenance, and care guidelines.
BASIC CARE. Clean up all spills immediately, particularly any including acids, chemicals, and abrasive materials. Avoid harsh chemicals and acidic or alkaline cleaning products.
ANNUAL SEALING AND REFINISHING. Hire a professional to seal or refinish annually based on the design professional/installer recommendations.
For more questions, please check out our FAQ section in our help center.
Thank you for inviting us into your inbox!
© 2024, OUTERclé. All Rights Reserved
SCULPTURES
DZEK + FORMAFANTASMA EXCINERE NIMBUS Shop All →